Build a Custom Template#
This guide addresses how to build a custom template. A custom template gives you full control of the look and feel of your Panel app.
Prerequisites
The How to > Set a Template guide demonstrates how to set a template for a deployable app.
The How to > Customize Template Theme guide addresses how to customize the theme of a template, which may be sufficient in many cases.
Building a Template in a Single File#
The Foundation: Panel’s Base Template#
Diving into custom templates means extending Panel’s default Jinja2 template. To start, let’s examine the default template utilized by Panel:
{% from macros import embed %}
<!DOCTYPE html>
<html lang="en" {{ html_attrs | default("", true) }}>
  {% block head %}
  <head>
  {% block inner_head %}
    <meta charset="utf-8">
    <title>{% block title %}{{ title | e if title else "Panel App" }}{% endblock %}</title>
    <link rel="apple-touch-icon" sizes="180x180" href="{{ dist_url }}images/apple-touch-icon.png">
    {% if app_favicon is not defined %} <link rel="icon" type="image/png" sizes="32x32" href="{{ dist_url }}images/favicon.ico"> {% endif %}
    {% if manifest_url %}<link rel="manifest" href="{{ manifest_url }}">{% endif %}
    {% if theme_name == "dark"%}<style>html { background-color: #121212 }</style>{% endif %}
  {%  block preamble -%}{%- endblock %}
  {%  block resources %}
    <style>
      html, body {
        display: flow-root;
        box-sizing: border-box;
        height: 100%;
        margin: 0;
        padding: 0;
      }
    </style>
  {%   block css_resources -%}
    {{- bokeh_css if bokeh_css }}
  {%-  endblock css_resources %}
  {%   block js_resources -%}
    {{  bokeh_js if bokeh_js }}
  {%-  endblock js_resources %}
  {%  endblock resources %}
  {%  block postamble %}{% endblock %}
  {% endblock inner_head %}
  </head>
  {% endblock head%}
  {% block body %}
  <body>
  {%  block inner_body %}
  {%    block contents %}
  {%      for doc in docs %}
  {{        embed(doc) if doc.elementid }}
  {%-       for root in doc.roots %}
  {%          block root scoped %}
  {{            embed(root) }}
  {%          endblock %}
  {%        endfor %}
  {%      endfor %}
  {%    endblock contents %}
  {{ plot_script | indent(4) }}
  {%  endblock inner_body %}
  </body>
  {% endblock body%}
</html>
If you’re versed in Jinja2 templating or similar technologies, you’ll notice how this template is designed for easy extension by overriding its {% block ... %} definitions. Though entirely custom templates are an option, extending existing blocks often proves to be the most straightforward path.
Enhancing the Base Template#
Let’s enrich the base template by incorporating additional resources within the postamble block of the header and redefining the layout of components within the contents block. We’ll introduce bootstrap.css in the preamble, leveraging the Bootstrap grid system for a polished layout.
template = """
{% extends base %}

<!-- Addition to head -->
{% block postamble %}
<link rel="stylesheet" href="https://stackpath.bootstrapcdn.com/bootstrap/4.3.1/css/bootstrap.min.css">
{% endblock %}

<!-- Addition to body -->
{% block contents %}
{{ app_title }}
<p>This is a Panel app with a custom template allowing us to compose multiple Panel objects into a single HTML document.</p>
<br>
<div class="container">
  <div class="row">
    <div class="col-sm">
      {{ embed(roots.A) }}
    </div>
    <div class="col-sm">
      {{ embed(roots.B) }}
    </div>
  </div>
</div>
{% endblock %}
"""
In this snippet, we utilize the embed macro to define two distinct roots in the template. To render this custom template, we first construct a pn.Template object with our HTML template and then populate it with the necessary roots, ‘A’ and ‘B’, using the add_panel method. Additionally, we introduce a new app_title variable, which we populate using the add_variable method:
import panel as pn
import holoviews as hv

tmpl = pn.Template(template)

tmpl.add_variable('app_title', '<h1>Custom Template App</h1>')

tmpl.add_panel('A', hv.Curve([1, 2, 3]))
tmpl.add_panel('B', hv.Curve([1, 2, 3]))
Crafting a Notebook-Specific Template#
Integrating certain CSS frameworks, such as Bootstrap, directly into a notebook can cause unintended layout changes. To circumvent this, Panel allows for the specification of a separate nb_template for notebook rendering:
nb_template = """
{% extends base %}

{% block contents %}
{{ app_title }}
<p>This is a Panel app with a custom template allowing us to compose multiple Panel objects into a single HTML document.</p>
<br>
<div style="display:table; width: 100%">
  <div style="display:table-cell; margin: auto">
    {{ embed(roots.A) }}
  </div>
  <div style="display:table-cell; margin: auto">
    {{ embed(roots.B) }}
  </div>
</div>
{% endblock %}
"""

tmpl = pn.Template(template, nb_template=nb_template)
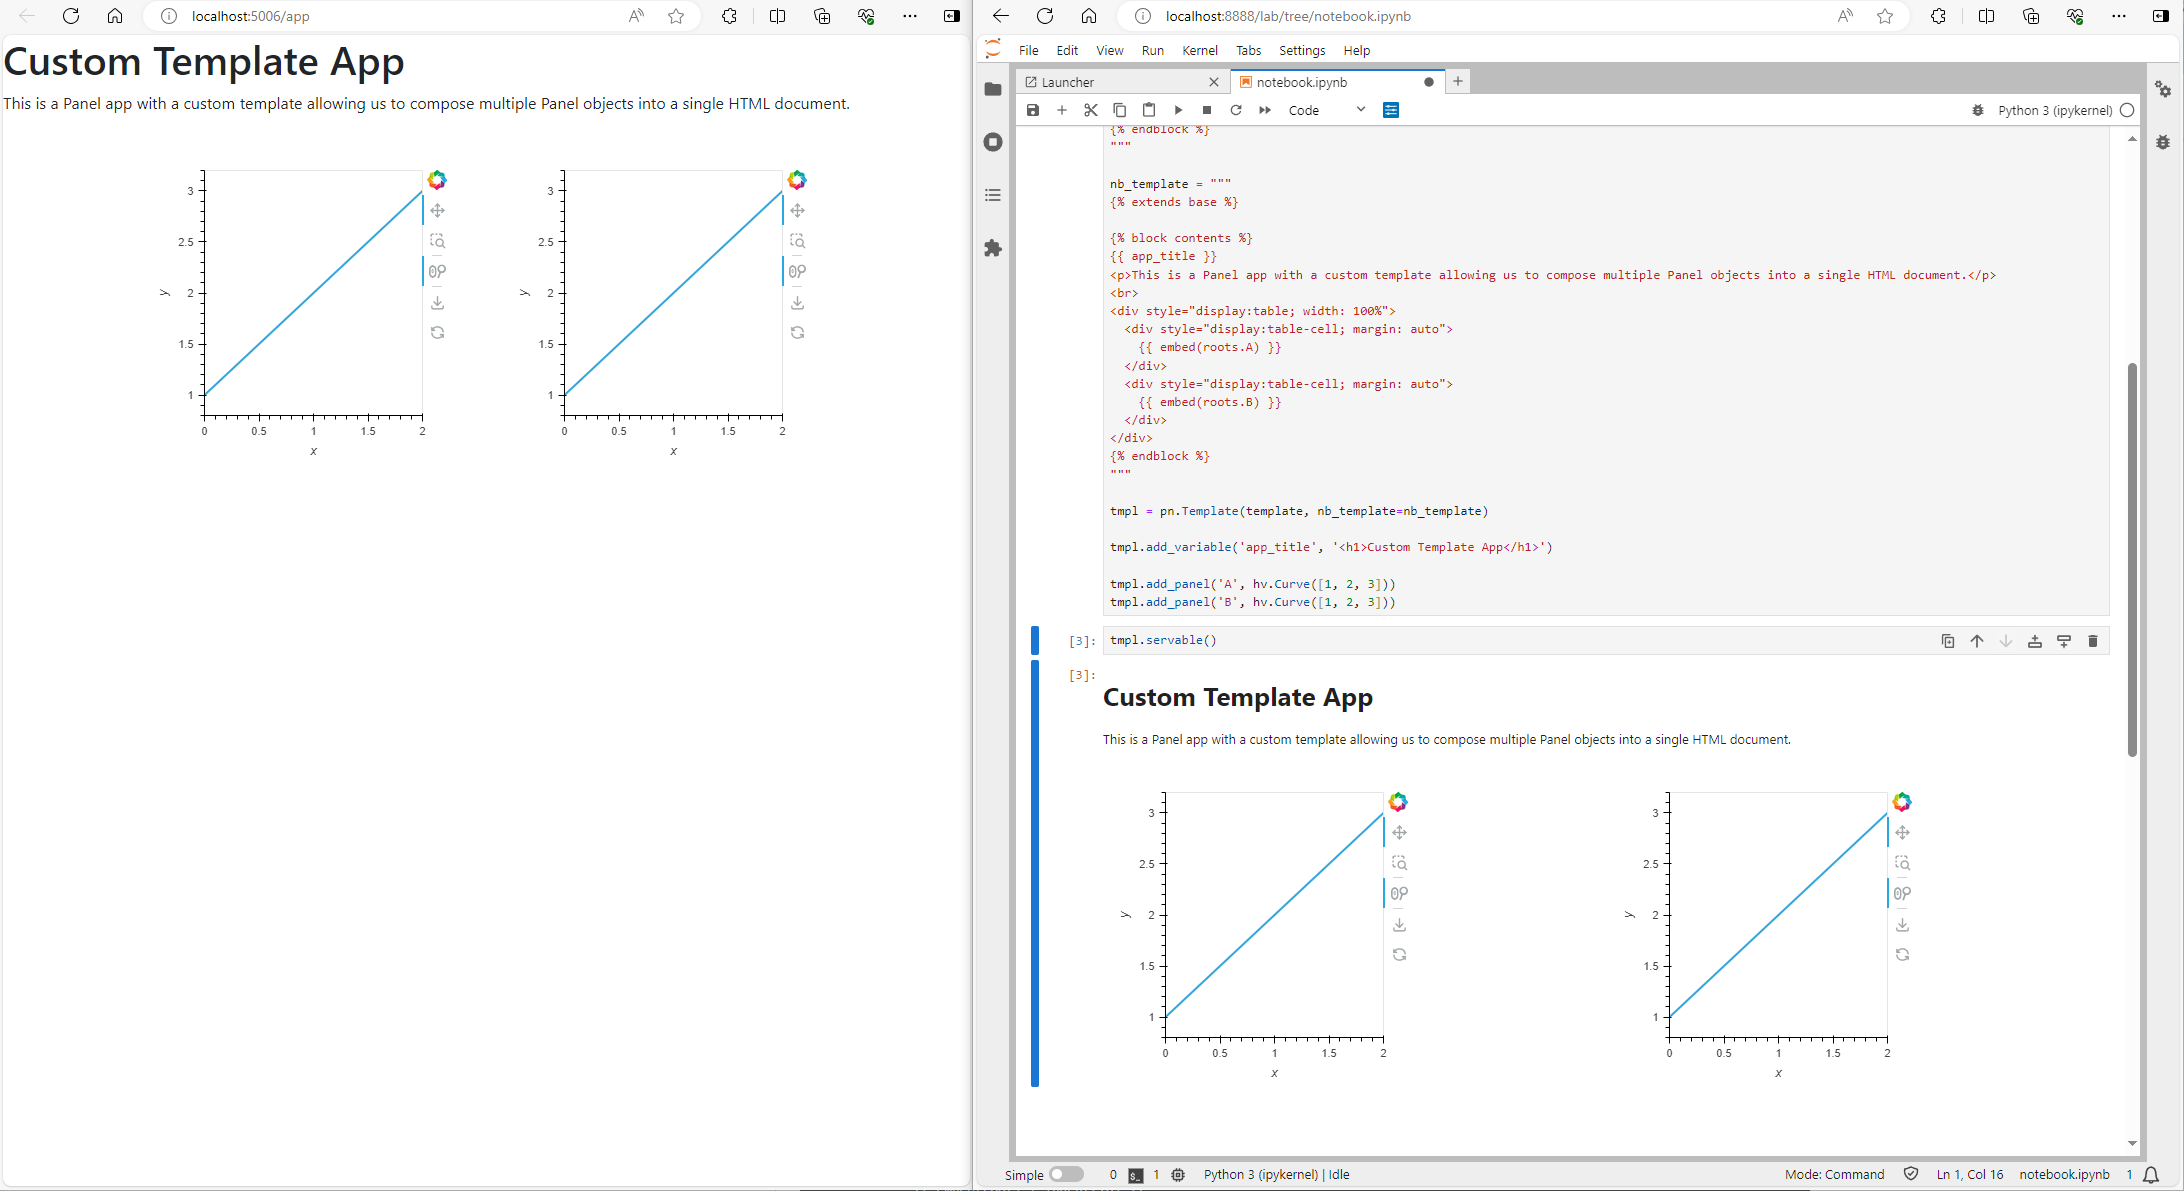
Bringing It All Together#
Here’s how you can assemble all the pieces into a cohesive application:
import panel as pn
import holoviews as hv

pn.extension()

template = """
{% extends base %}

<!-- goes in head -->
{% block postamble %}
<link rel="stylesheet" href="https://stackpath.bootstrapcdn.com/bootstrap/4.3.1/css/bootstrap.min.css">
{% endblock %}

<!-- goes in body -->
{% block contents %}
{{ app_title }}
<p>This is a Panel app with a custom template allowing us to compose multiple Panel objects into a single HTML document.</p>
<br>
<div class="container">
  <div class="row">
    <div class="col-sm">
      {{ embed(roots.A) }}
    </div>
    <div class="col-sm">
      {{ embed(roots.B) }}
    </div>
  </div>
</div>
{% endblock %}
"""

nb_template = """
{% extends base %}

{% block contents %}
{{ app_title }}
<p>This is a Panel app with a custom template allowing us to compose multiple Panel objects into a single HTML document.</p>
<br>
<div style="display:table; width: 100%">
  <div style="display:table-cell; margin: auto">
    {{ embed(roots.A) }}
  </div>
  <div style="display:table-cell; margin: auto">
    {{ embed(roots.B) }}
  </div>
</div>
{% endblock %}
"""

tmpl = pn.Template(template, nb_template=nb_template)

tmpl.add_variable('app_title', '<h1>Custom Template App</h1>')

tmpl.add_panel('A', hv.Curve([1, 2, 3]))
tmpl.add_panel('B', hv.Curve([1, 2, 3]))

tmpl.servable()
Serve your app with panel serve app.py or use the code in a notebook to see your custom template in action:
Managing Complex Templates#
For more intricate templates, maintaining them in a separate file promotes cleanliness and modularity. You can either import them as a string or utilize Jinja2’s official loading mechanism, which involves setting up an Environment along with a loader:
from jinja2 import Environment, FileSystemLoader

env = Environment(loader=FileSystemLoader('.'))
jinja_template = env.get_template('sample_template.html')

tmpl = pn.Template(jinja_template)

tmpl.add_panel('A', hv.Curve([1, 2, 3]))
tmpl.add_panel('B', hv.Curve([1, 2, 3]))
tmpl.servable()
